Print Designer
How to Create a Print Product
📩フィードバックメール:support@ezycreate.com
Glossary
- **商品ブランク:**最終的なテンプレートやデザインを追加する前に、デザインおよび注文システム上で商品の仕様や動作を定義するための基本設定です。
- **商品コード:**各商品定義に必要な一意のコードです。
- SKU ID: 商品または商品バリエーションごとに割り当てられる一意のIDで、製造・出荷プロセスで使用されます。
- **セーフエリア:**商品デザイナー上で表示されるガイドラインで、製造工程において裁断される可能性のある範囲を示します。
- 塗り足し: 仕上がりサイズの外側までデザインを広げる領域で、裁断時に白いフチが出ないようにするための部分です。
- トリムエリア: 仕上がり時に余分な部分が裁断される、商品の外周部分です。
- 用紙 / 素材: 商品に使用される紙や素材の種類(例:アート紙、シルキー、ラスターなど)を指します。
- ラミネーション: 耐久性や見た目を向上させるために表面に施されるコーティング層です。
- 画像サイズ: デザイナー上で使用される画像のサイズです。
- フォト幅: デザイナーの表示エリアを埋めるために設定される写真のサイズです。
- 製本: ページをまとめて本の形に仕上げる工程のことです。
- 表示マスク画像: デザイナー上に重ねて表示されるオーバーレイ用のマスク画像です。
- クリッピングパスマスク画像: デザイン時に使用されるマスク領域を定義する画像です。
- オフセット値: デザイナー上でマスクの位置を調整するために使用される値です。
- Category / Sub Category: Used to organize products under specific sections.
- App Name: Type of designer used (e.g., prints designer, photobook designer).
- Printable Surfaces: Designer surface where designing is done.
- Output Type: Output file format generated post-order (JPEG or PDF).
- Min Pages / Max Pages: Minimum and maximum number of pages a product can have.
Steps
Step 1: Login
- Open: EC admin
- Enter login details and submit.
Step 2: Navigate to "My Blanks"
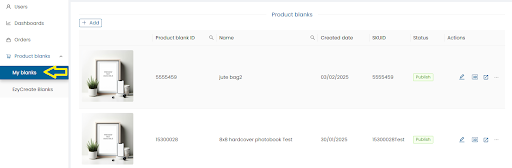
- Click on My Blanks to see defined product blanks.
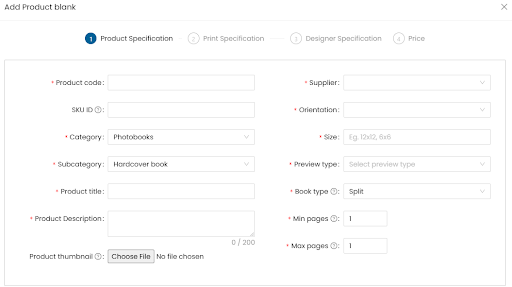
Step 3: Create a New Product Blank

-
Click on Add.
-
Product Code: Enter unique code.
-
SKU ID: Same as Product Code or enter different ID.
-
Product Type: Choose from the dropdown.
-
Category / Subcategory: Select as required.
-
Product Title: Enter name.
-
Product Description: Max 200 characters, internal use.
-
Thumbnail: Upload JPG image.
-
Supplier: Select supplier.
-
Orientation: Portrait, Landscape, or Square.
-
Size: e.g., 4x6, 5x7.
-
Preview Type:
- Photobooks: 3D
- Mini book: 2D
- Calendar: 2D
- Canvas prints: 3D
- Mounted prints: 3D
- Frames: 3D
- Mug: 3D
- Prints: Image
-
Min / Max Pages: As per product specs.
-
Click Next.
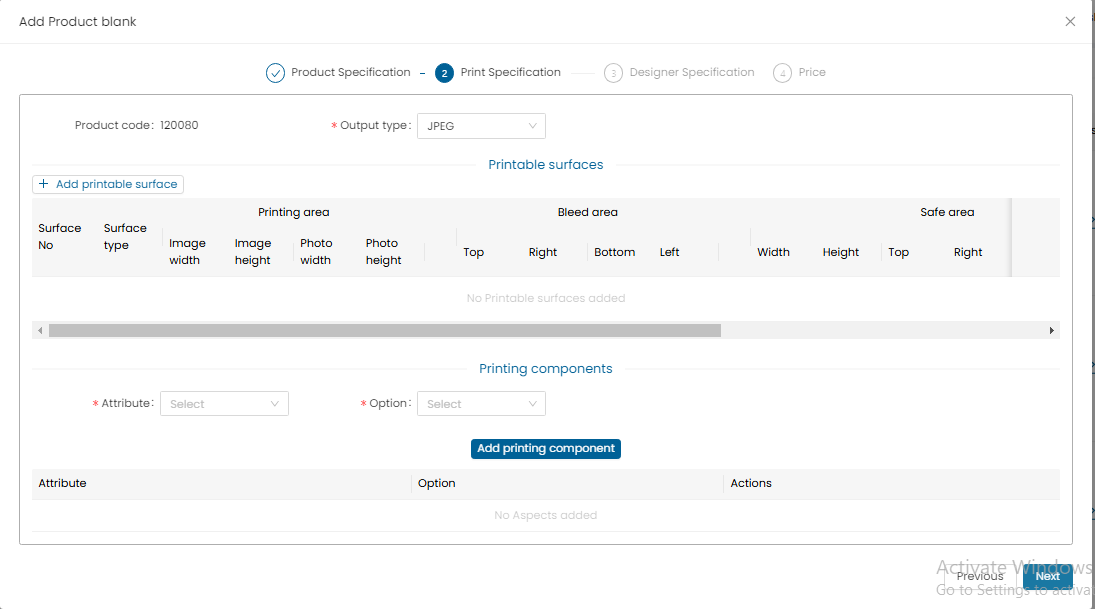
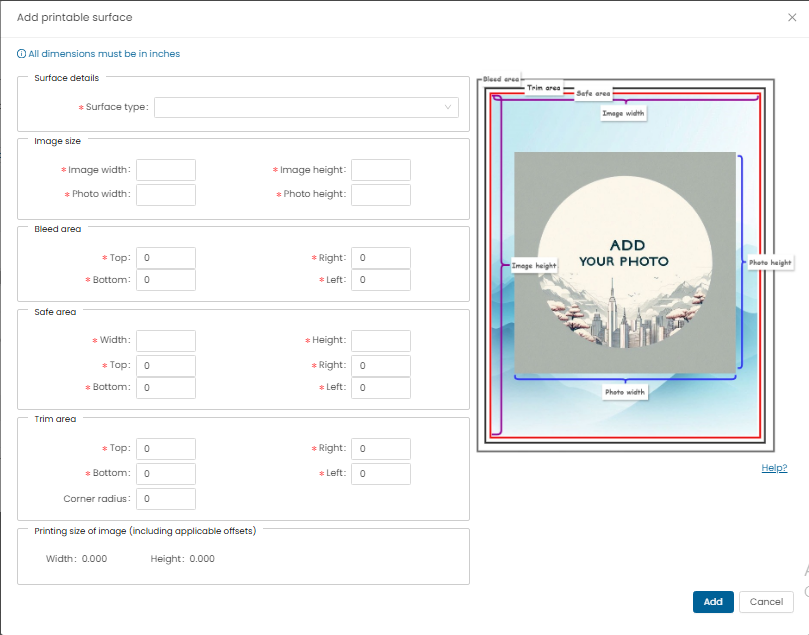
Step 4: Set Output Type & Printable Surface
-
Output Type: JPEG or PDF
-
Click Add Printable Surfaces
-
Enter all specs in inches:
- Surface Type: Choose from dropdown
- Image Size: Printable output image size
- Photo Width / Height
- Bleed Area
- Safe Area
- Trim Area (enter corner radius if rounded corners)
-
Click Add.
Step 5: Add Printing Components

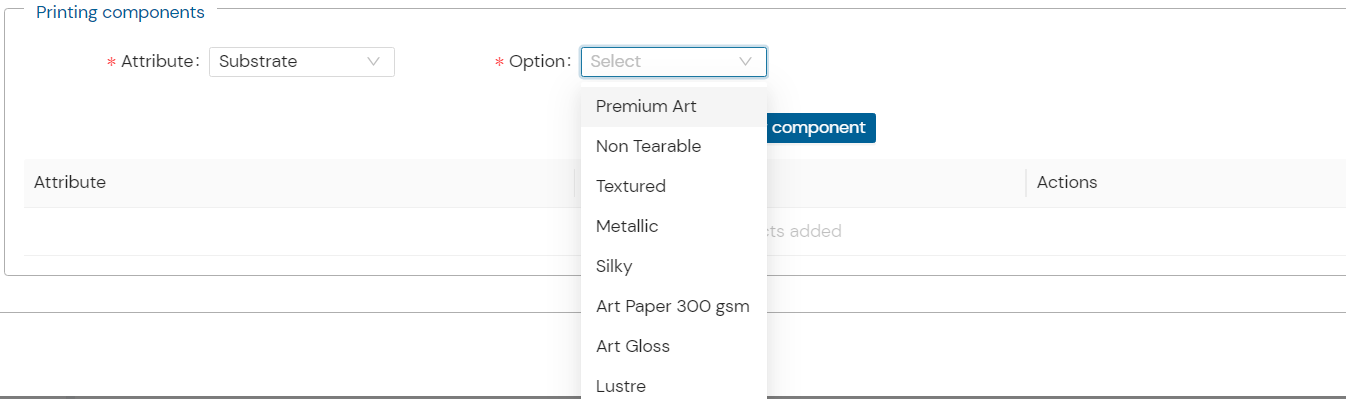
- Define Substrate, Lamination, Binding, Cover etc.
- If needed, add new attributes under Admin > Attributes > Laminations
- Select and set corresponding options for lamination/substrate.
Step 6: Designer Specs
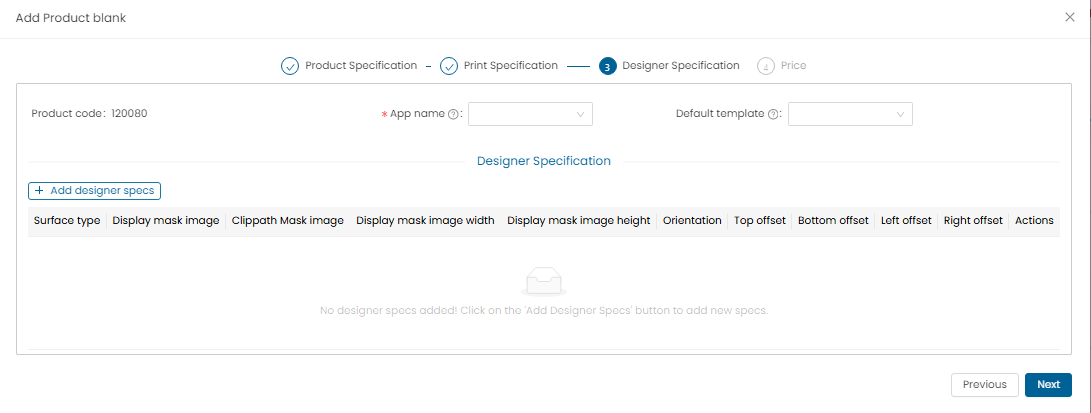
- All specs in inches.
- App Name: Select ezyprints product.
- Default Template: Optional customized template.
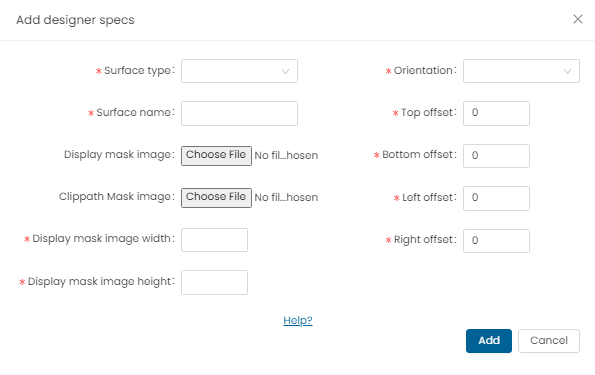
- Click Add Designer Specs
- Surface Type / Name: Select and name
- Display Mask Image: PNG format only
- Clippath Mask Image: PNG format only
- Display Mask Dimensions: Width and Height in inches
- Orientation: Select accordingly
- Mask Offsets: Top, Bottom, Left, Right (in inches)
- Important: Add both orientations (Portrait/Landscape) for print products
- In case of square orientation only square mask to be updated.
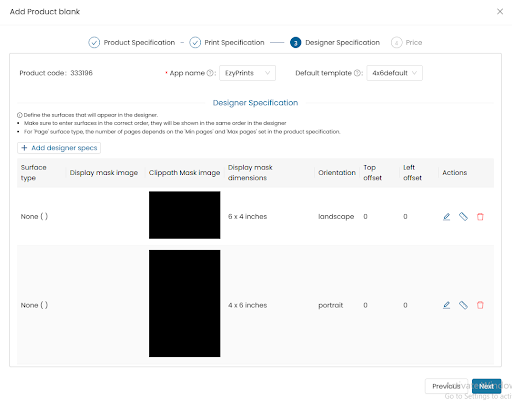
- Click Add, then Next
Step 7: Pricing
Option 1: Single Quantity Pricing
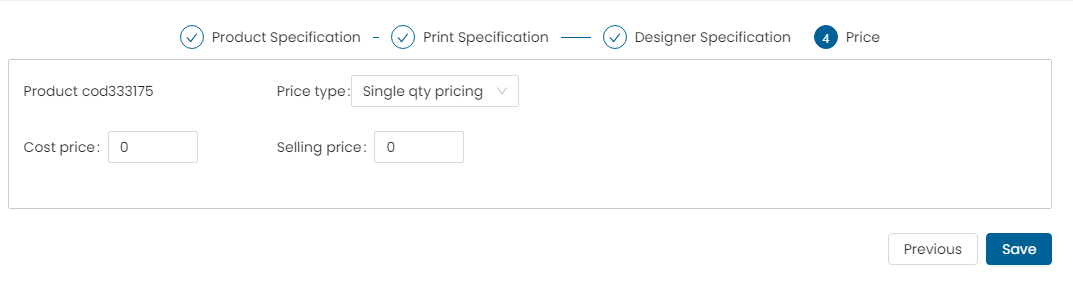
- Price Type: Single Qty
- Cost Price / Selling Price
- Click Add Price, then Save
Option 2: Volume Pricing
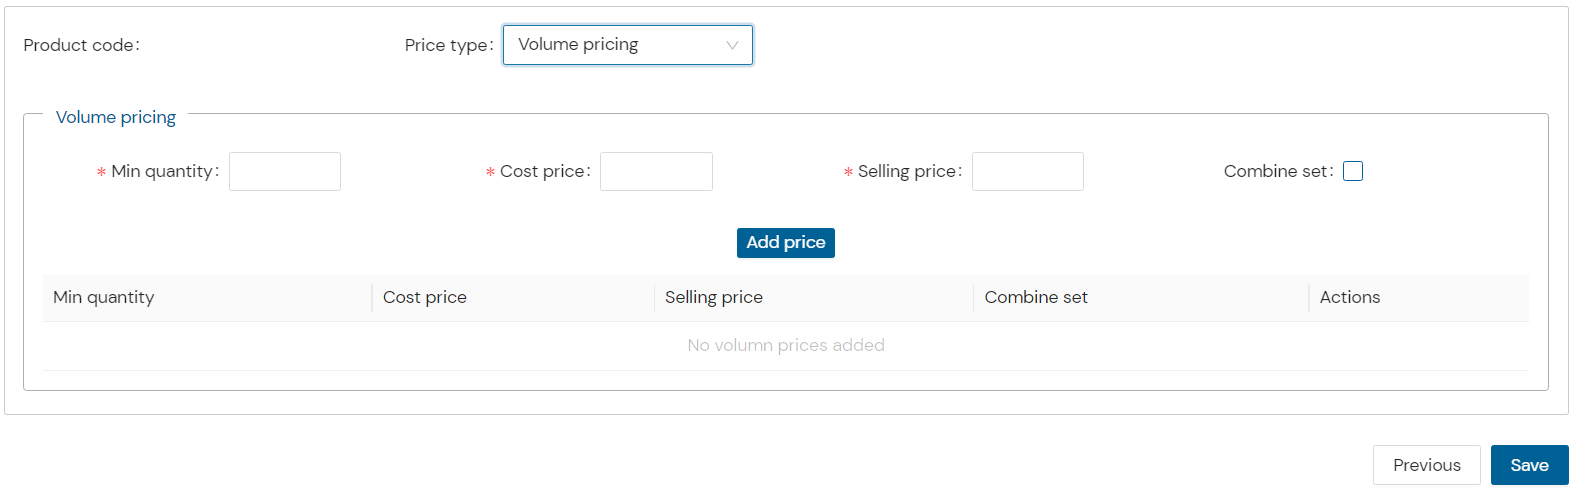
- Min Quantity
- Cost / Selling Price
- Combine Set (if required)
- Click Add Price, then Save
Option 3: Attribute Level Pricing
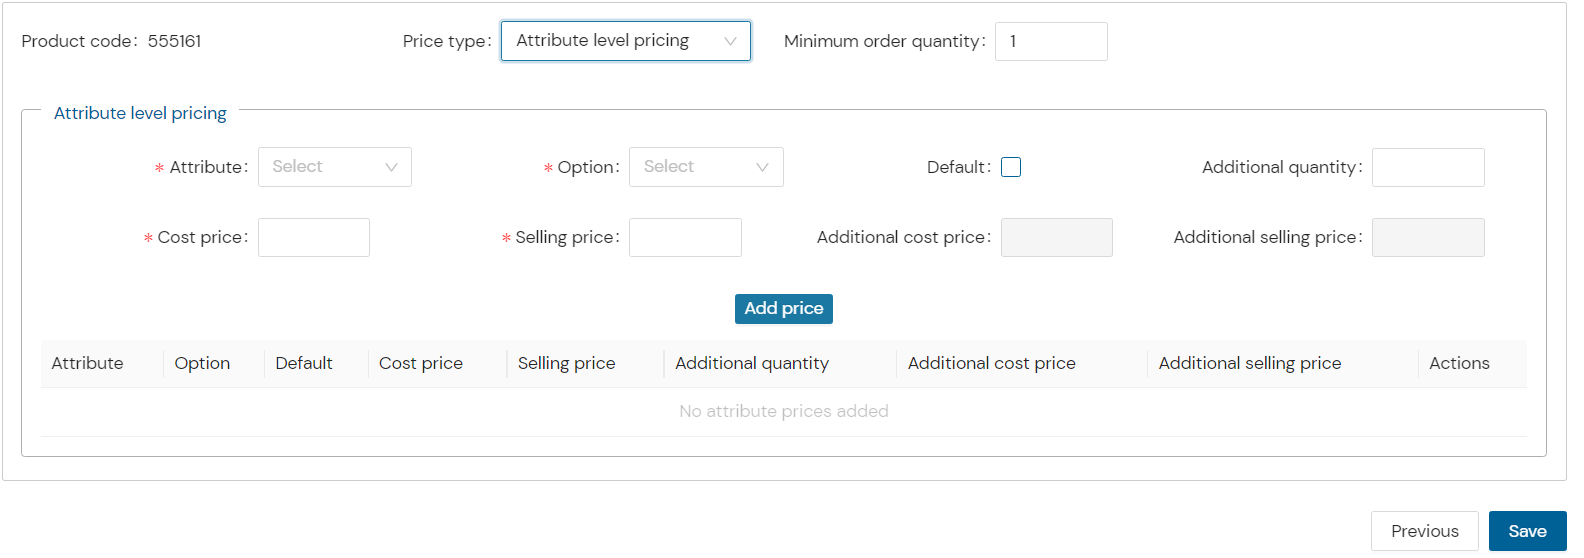
- Set pricing for each attribute (e.g., substrate)
- Click Add Price, then Save
Note:
- No attribute: Use Single Qty
- Bulk orders: Use Volume Pricing
- Attribute-specific rates: Use Attribute Pricing
Step 8: View Created Product
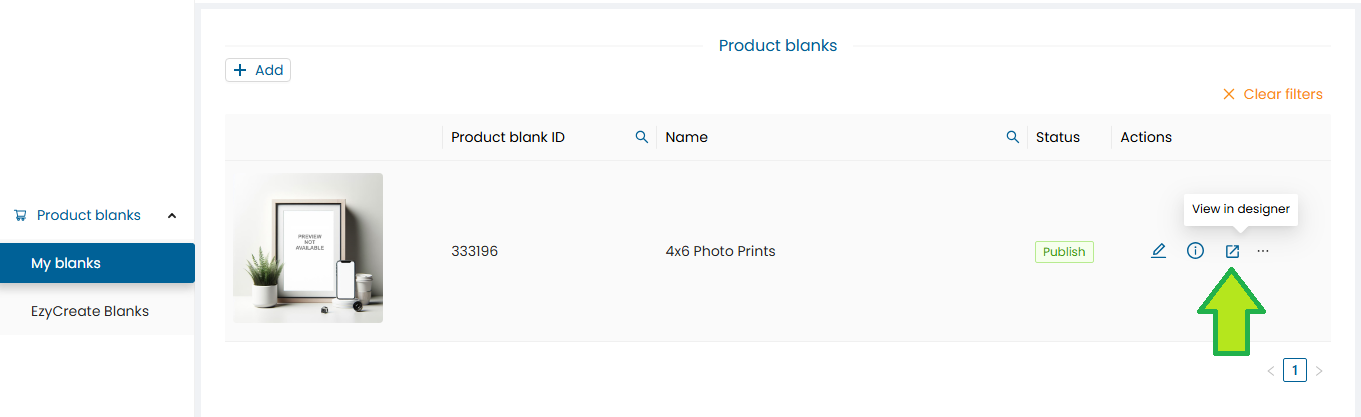
- Go to Product Wizard List
- Click View in Designer
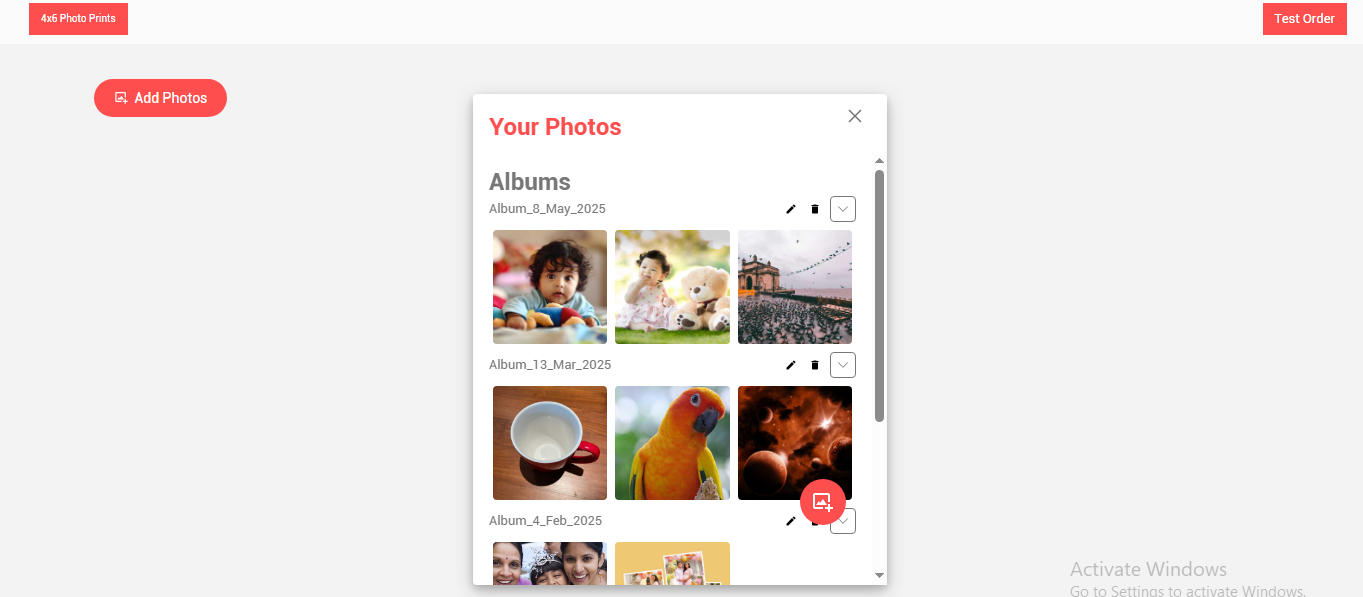
Step 9: Upload & Edit Photos
-
Click Add Photo
-
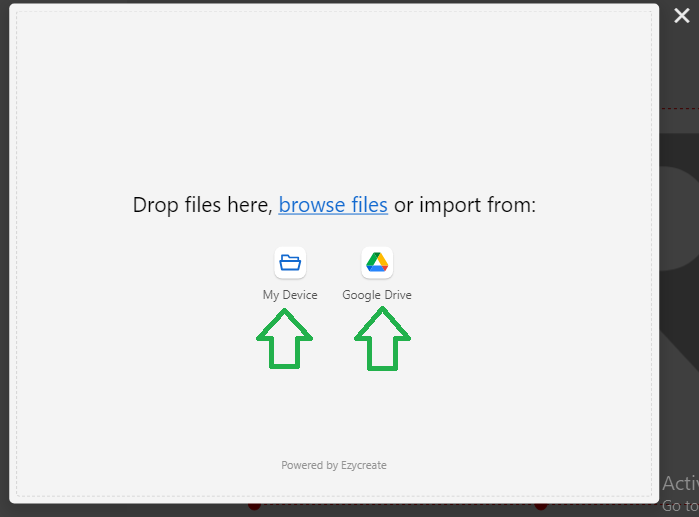
Upload via Upload Photos

-
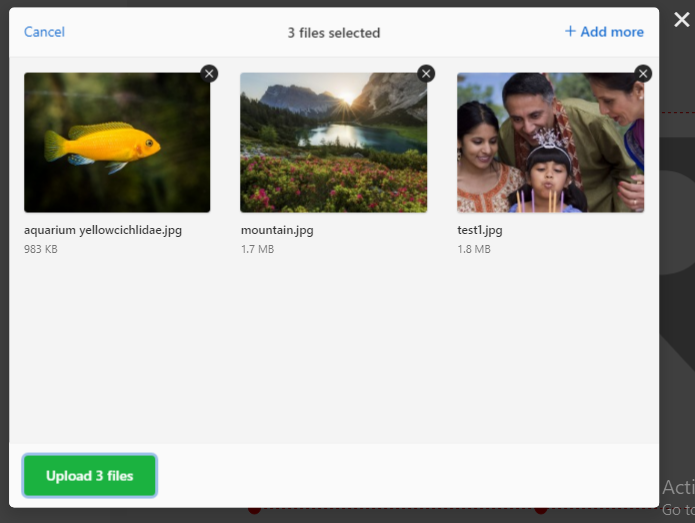
Select files or drag-and-drop
-
Click Upload
-
Select uploaded photo to open in designer
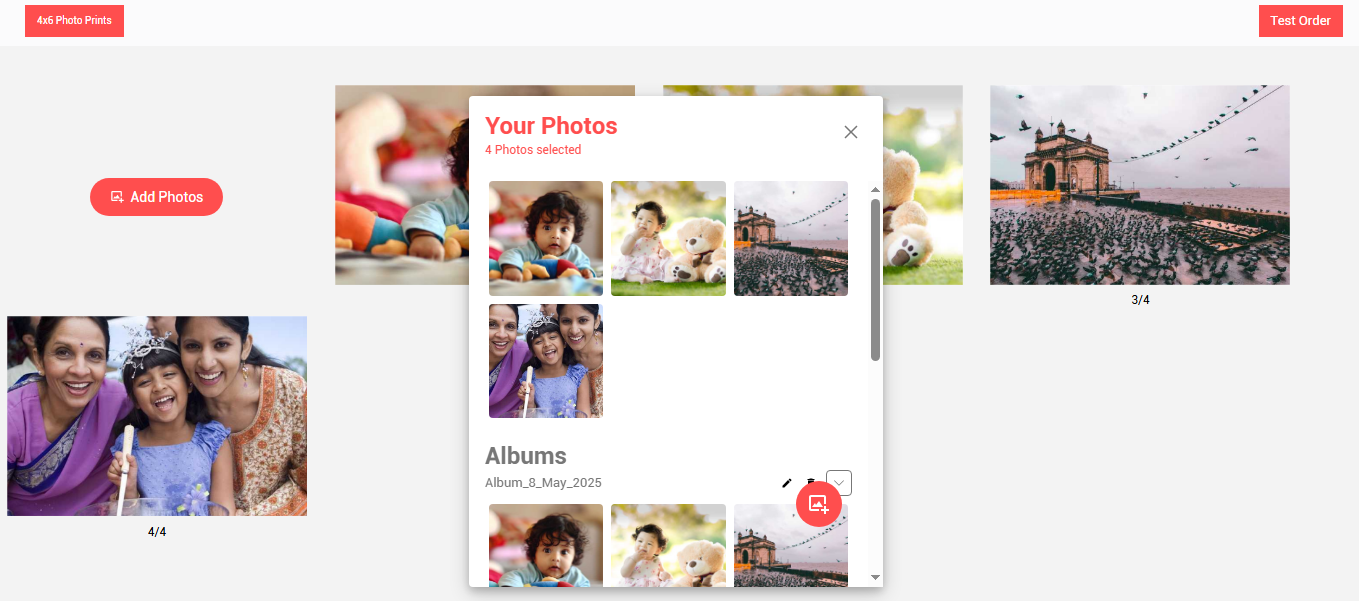
Photo preview will be displayed, now click on the photo to edit
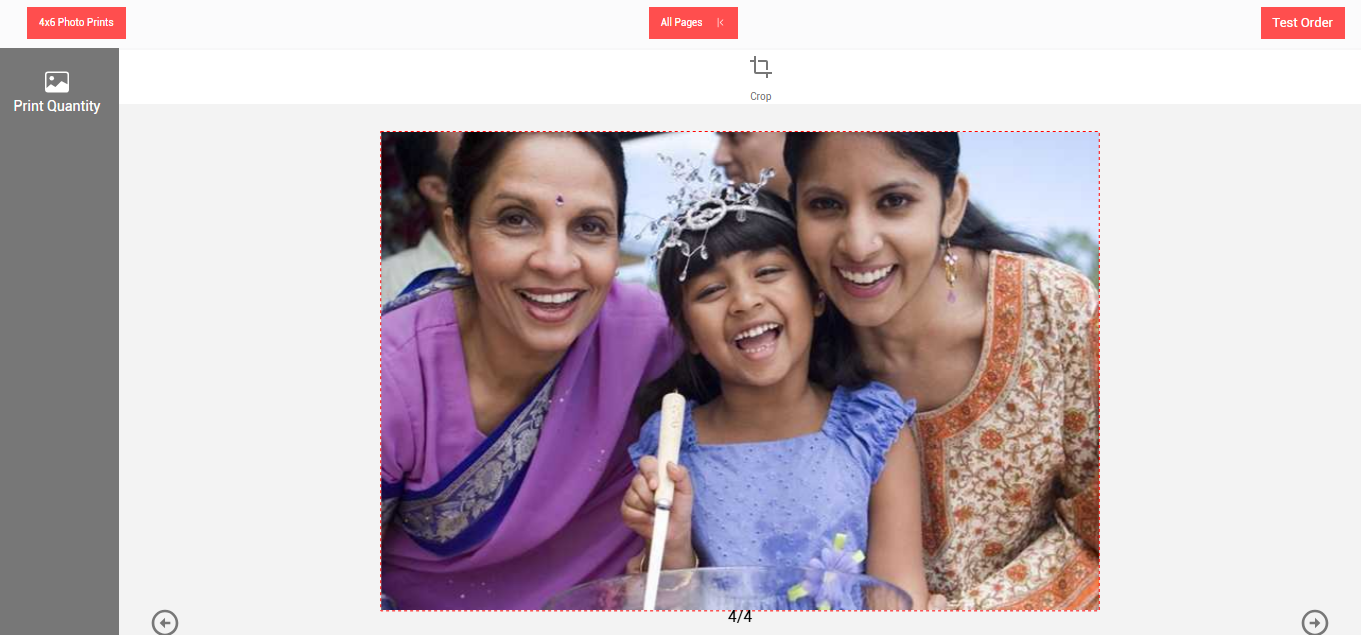
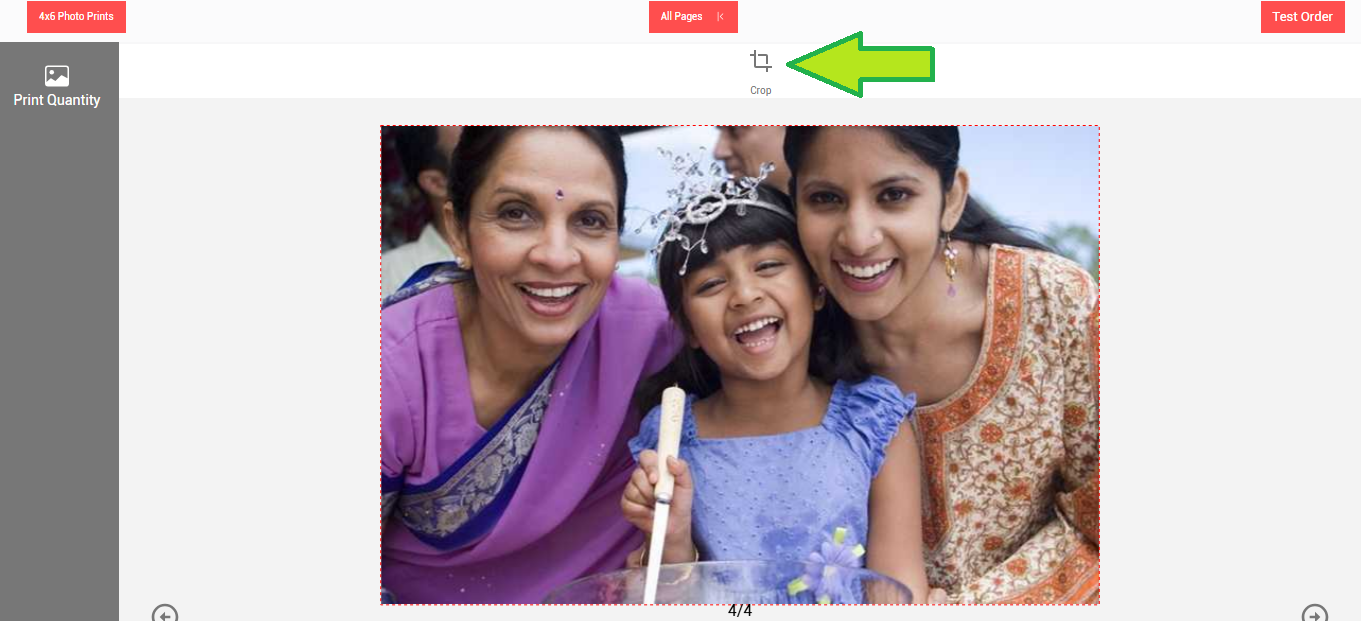
The photo edit menu will be displayed.
Click on the crop button. Use crop button to crop a photo, you can crop a portion and remove unnecessary parts of the photo.
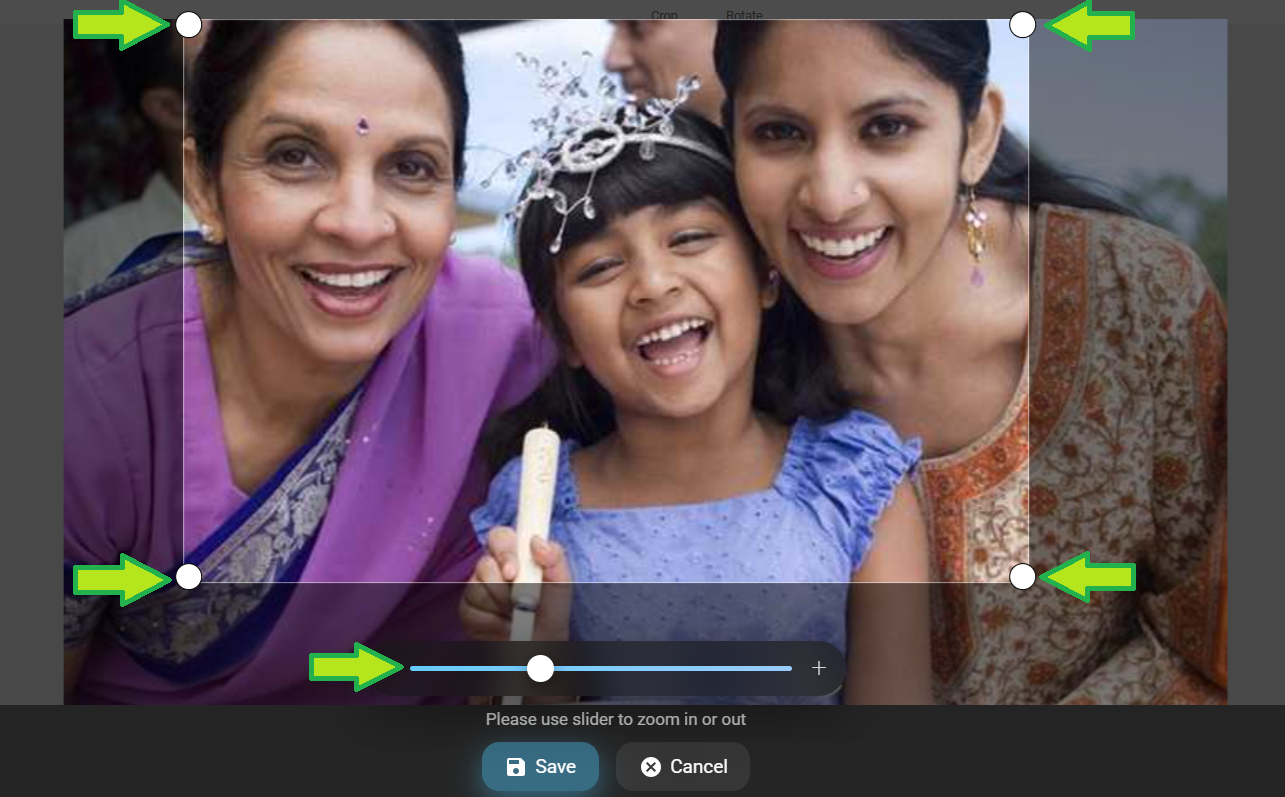
Using the crop slider and using the photo corner crop handles adjust the image crop.
Click on “Save” button once done.
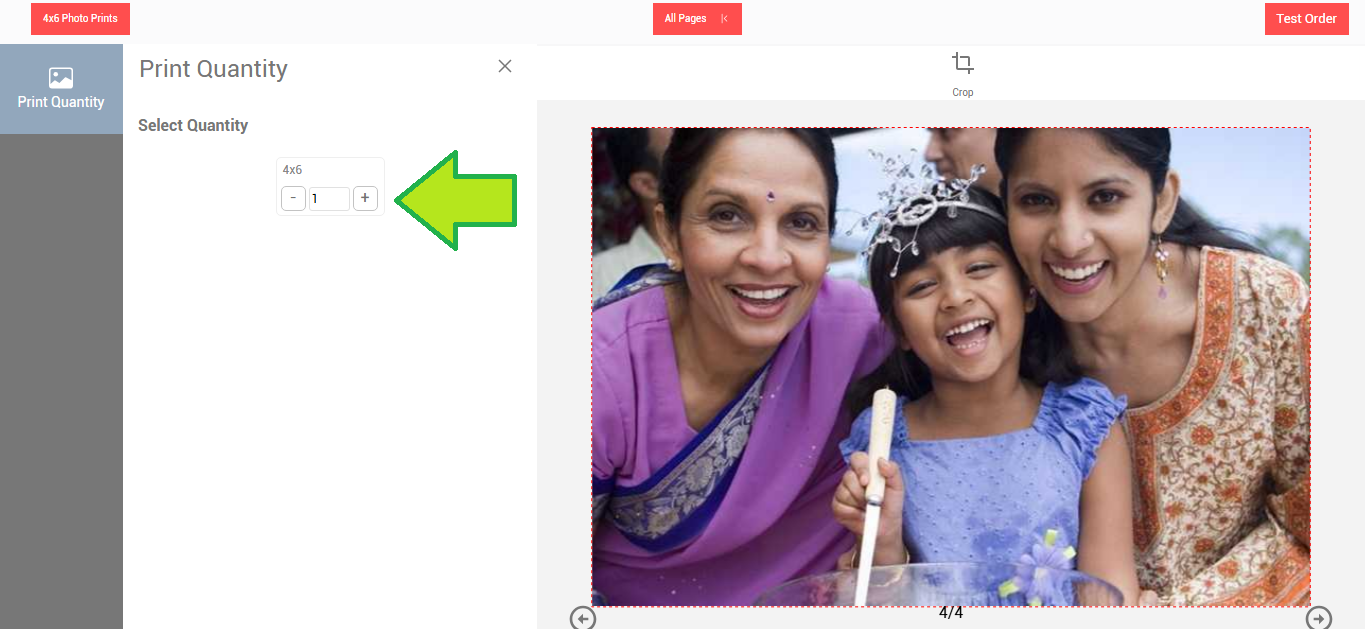
- Increase the photo quantity if required
- Once the editing is done click on the “Test Order” button.
Step 10: Confirm Test Order
-
Message: “Order placed successfully”
-
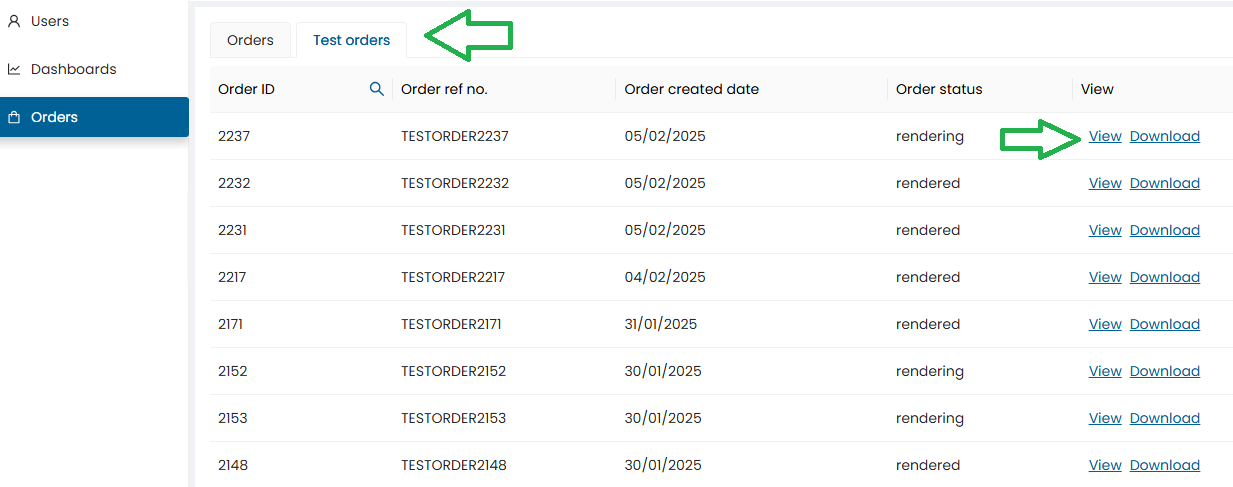
Navigate to Order Tab
-
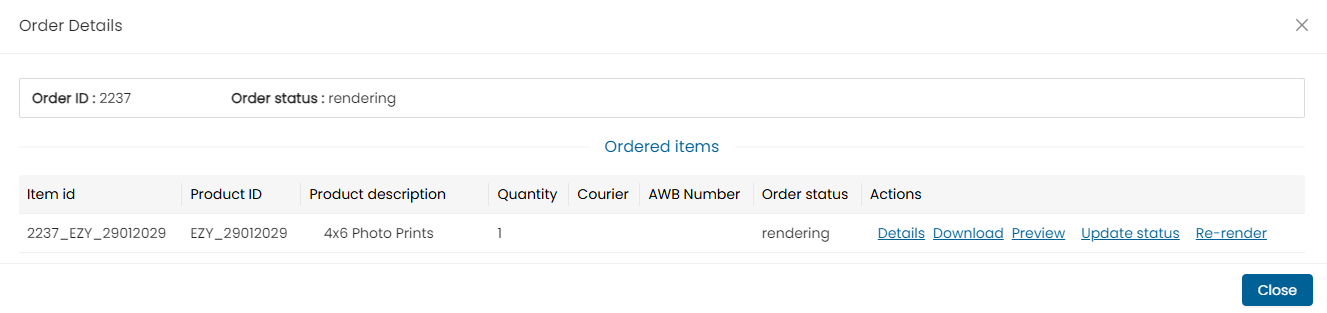
Click View to see order details
-
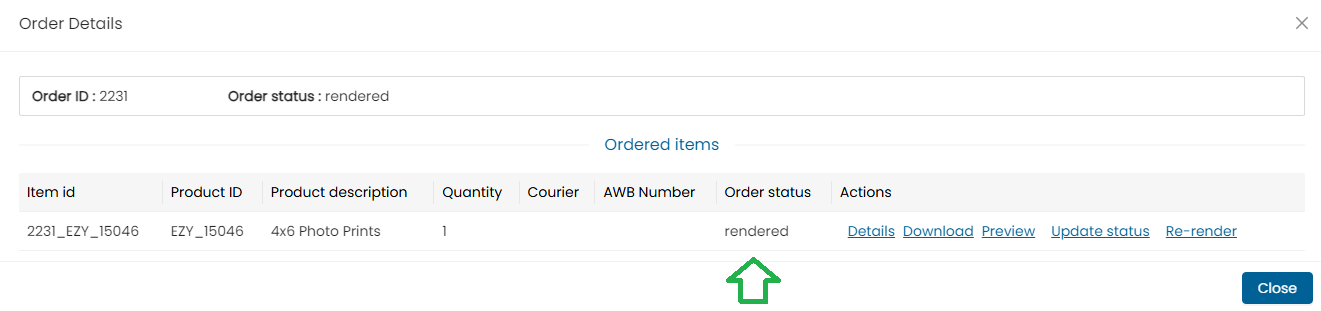
Wait for status to show Rendered
-
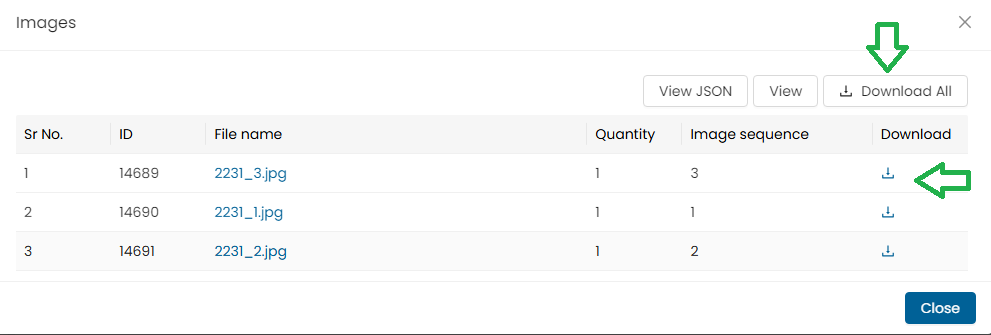
Orders can be downloaded using the “Download all” button or you can individually also download single images.
-
Note : In case of multiple images, users can either download a single image or click on the “Download All” button to download all the images at once.
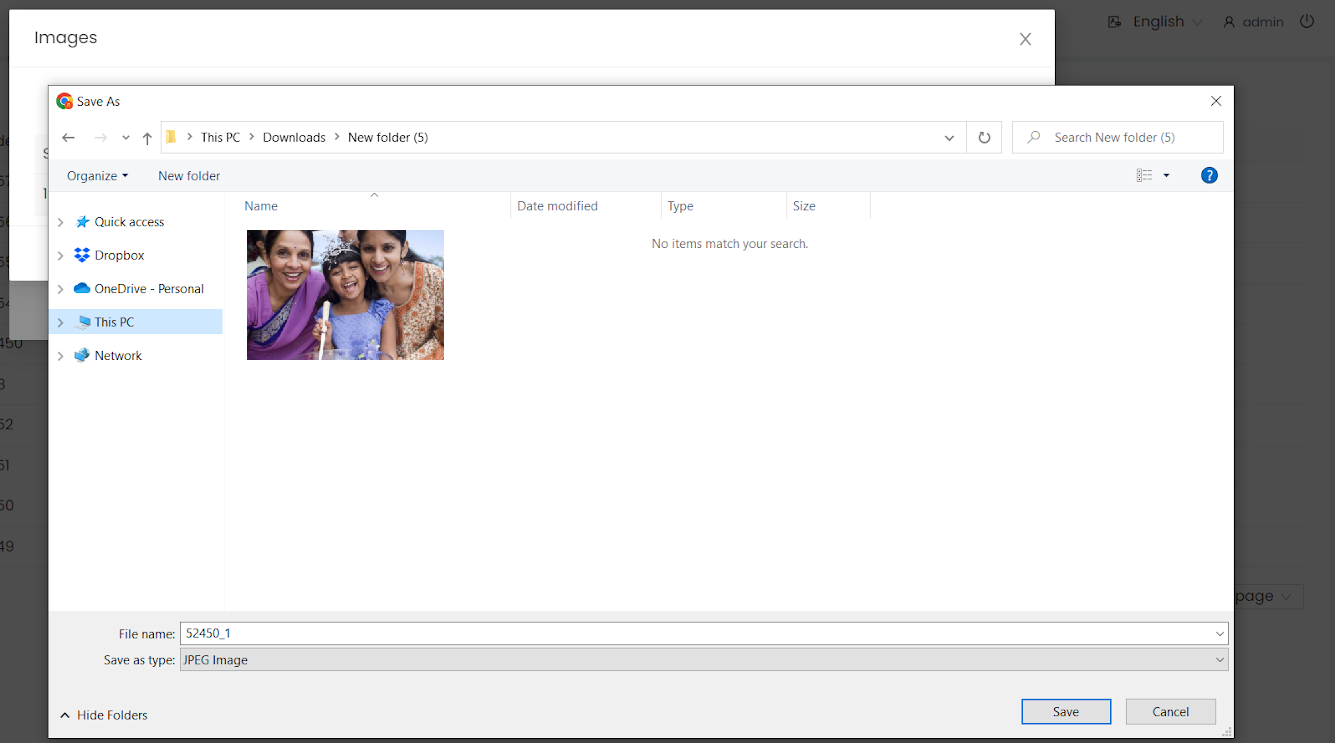
Step 11: Download Test Output
-
Use Download All for ZIP or download images individually
-
Select path and click Save
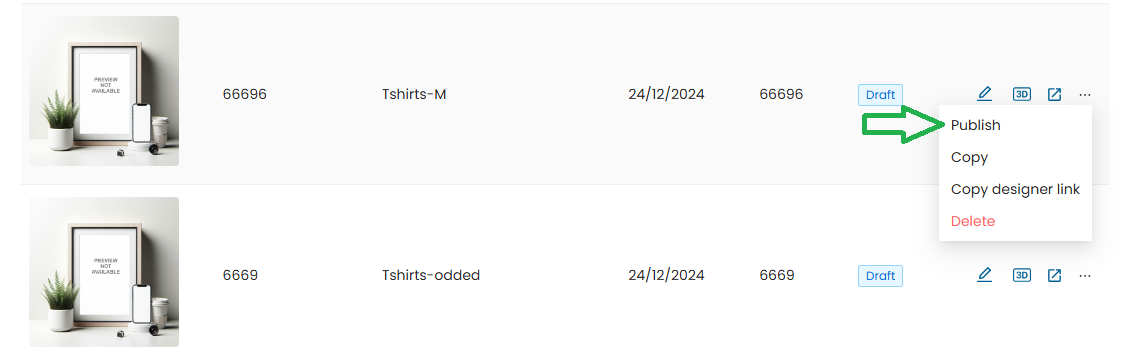
Step 12: Publish the Product
-
Go to Product Blank Dashboard
-
Click Product Settings
-
Click Publish

-
Status will update to Publish
Once Published, the Product Blank Specs Cannot Be Changed.